Have A Ball While Making Ice Cream - Summer At Home
It is looking like we are going to spend a lot of Summer at home this year! While we have started to see just family at their homes, we have been pretty modest about going out and about. On Father’s Day we did venture to Coronado for some beach time, but left once more people started to pop up. Dan and I have planned little travel plans but just to see family. We are hoping to plan a camping trip at some point but there is no rush with that. For the most part we are making the most of all this time at home and today I’m kicking off a little series, Summer At Home!
We hope you all have a fun (and safe) Summer no matter what you have going on! Hopefully the activities we share here will inspire some exciting family memories during these warm months.
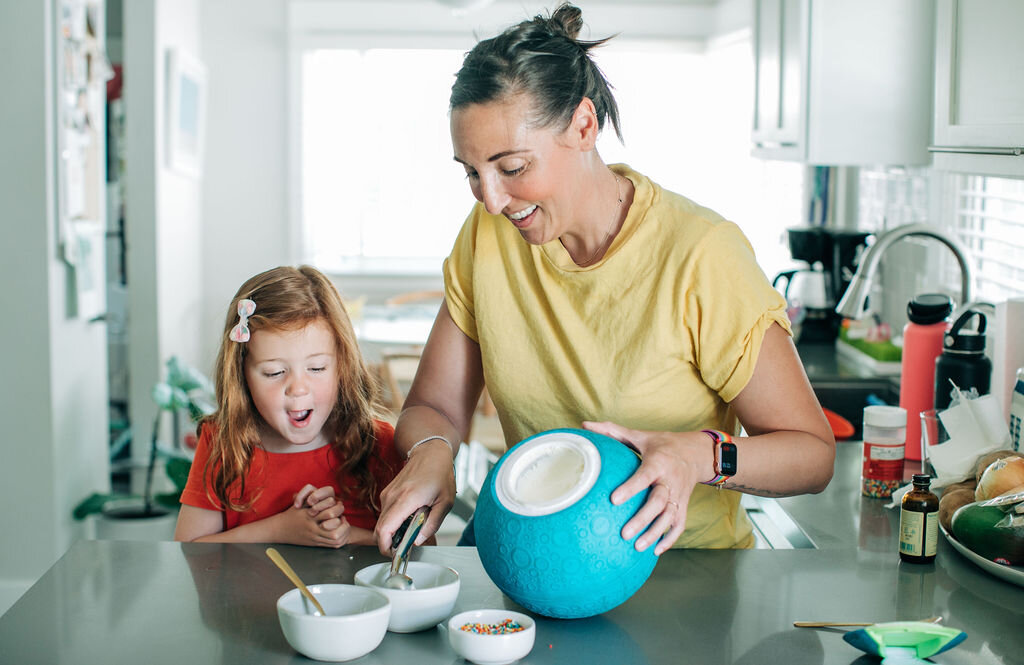
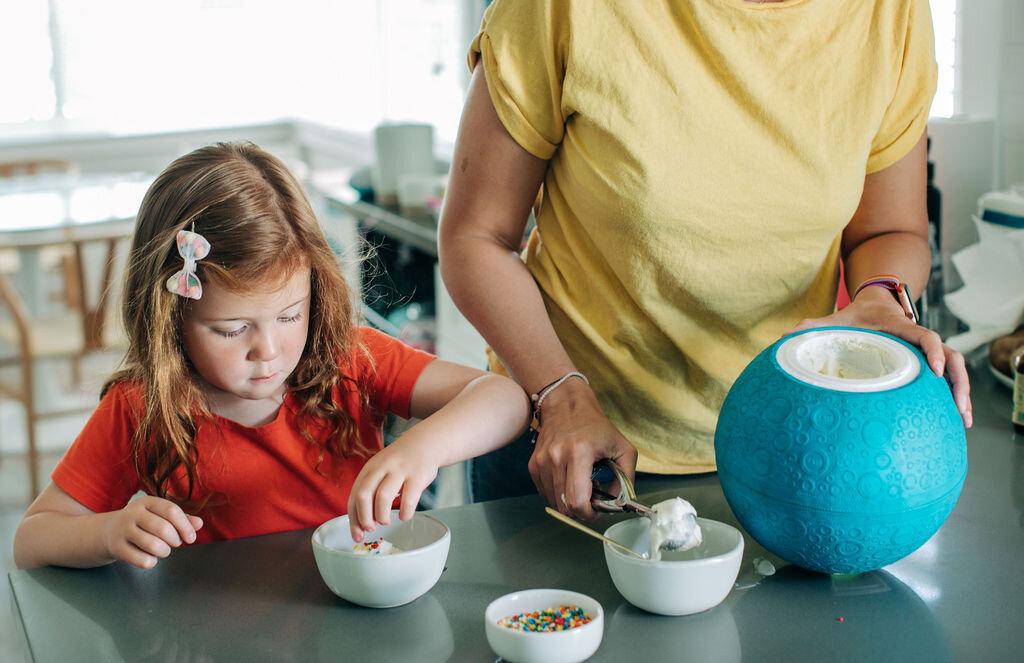
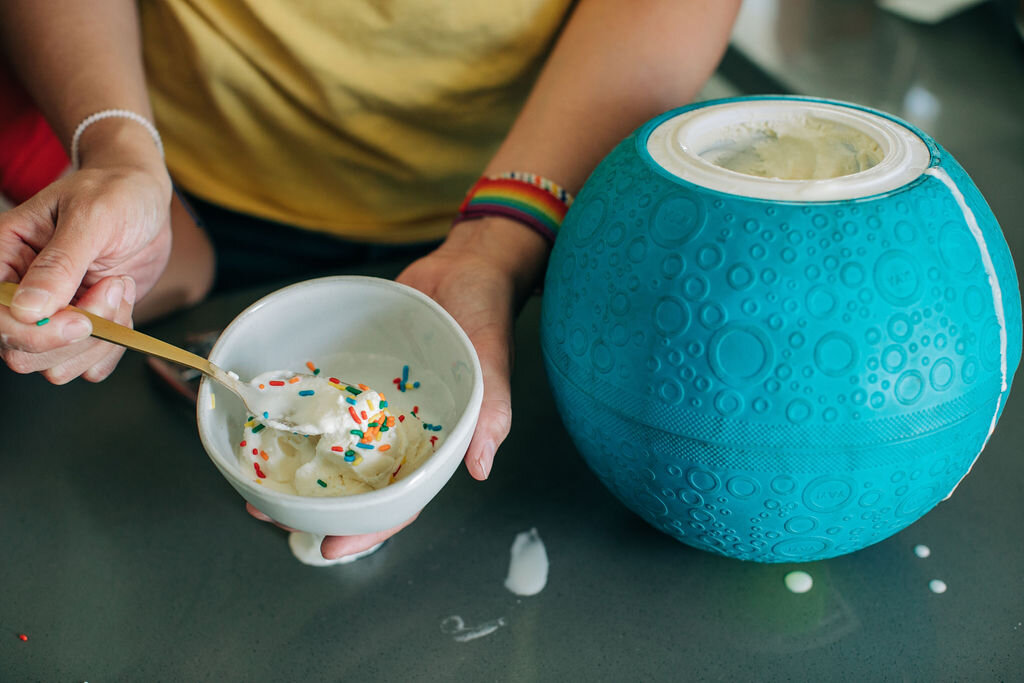
Let’s start with this Ice Cream Ball! I found this gem online HERE. You add simple ingredients inside of the ball, play with it outside, and it ends up making ice cream you can enjoy right then and there. It is seriously so much fun. The ball comes with a handful of recipes you can do. We always choose the vanilla ice cream recipe so we can add whatever toppings we want on top after it is ready. It also has easy to read instructions on how to use it!
Here are some tips -
We like to keep our ball in the freezer over night before using it. This helps really firm up the ice cream while playing with the ball.
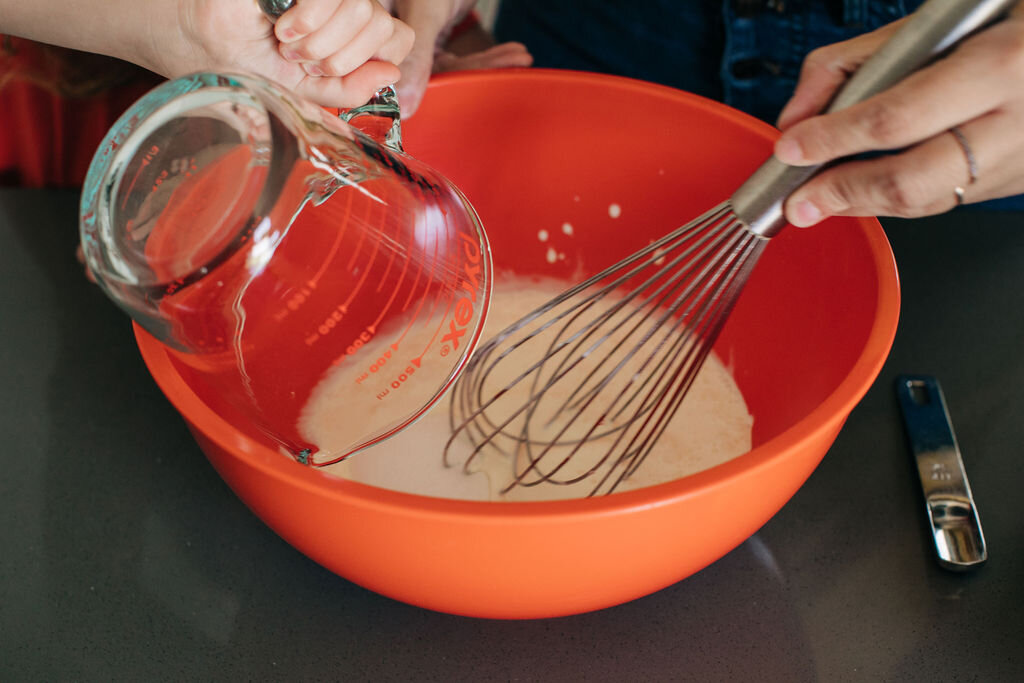
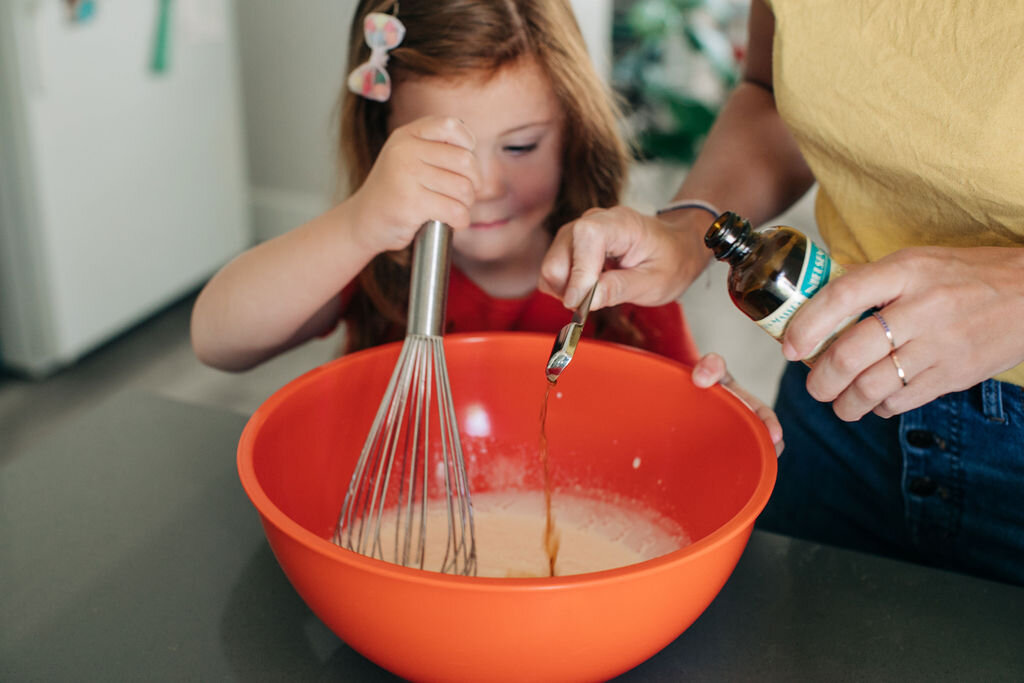
Always use extremely cold ingredients. That includes the vanilla extract! Try measuring out the amount of vanilla extract you need and keeping it in the fridge for at least an hour or over night. This step isn’t necessary but it is always best to keep all your ingredients as cold as possible when making this ice cream.
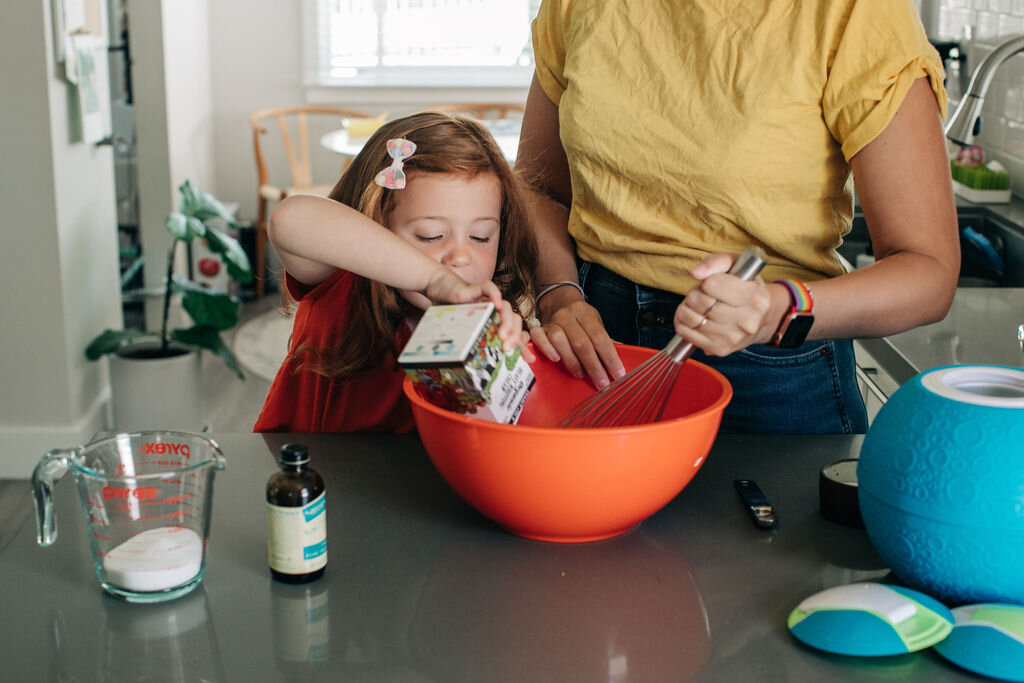
This activity can be a fun learning experience along with the play time + ice cream time. Have your little one go over the measurements with you. Have them taste each ingredient on its one and describe what it is they are tasting. The creamy whipping cream. The warm vanilla. The tangy/bitter salt. Let your little one whisk and take a moment to smell the ingredients come together.
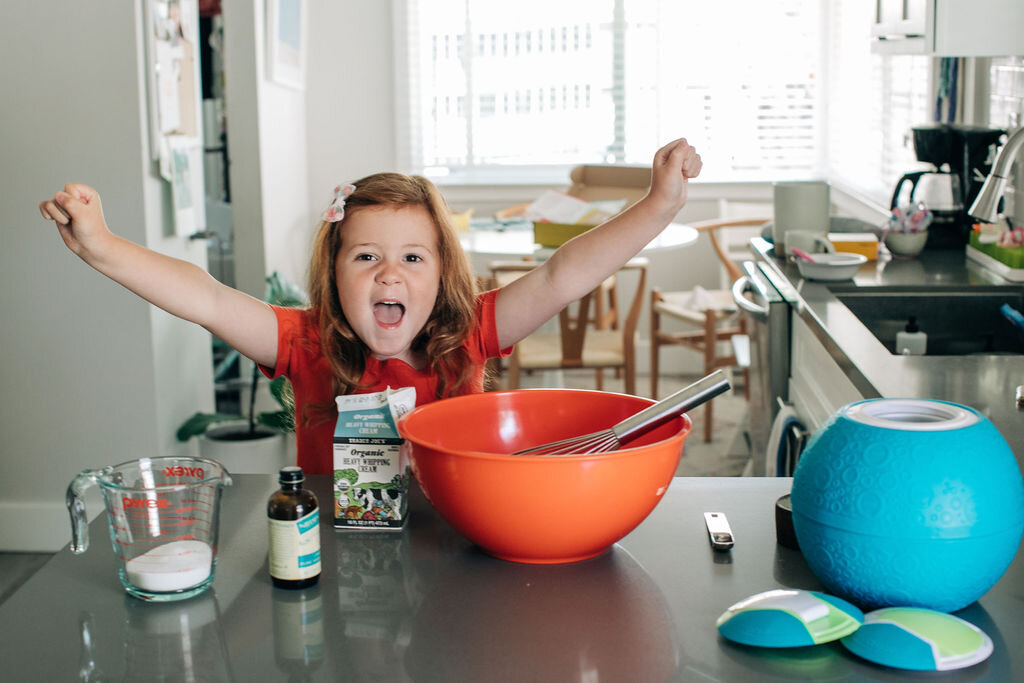


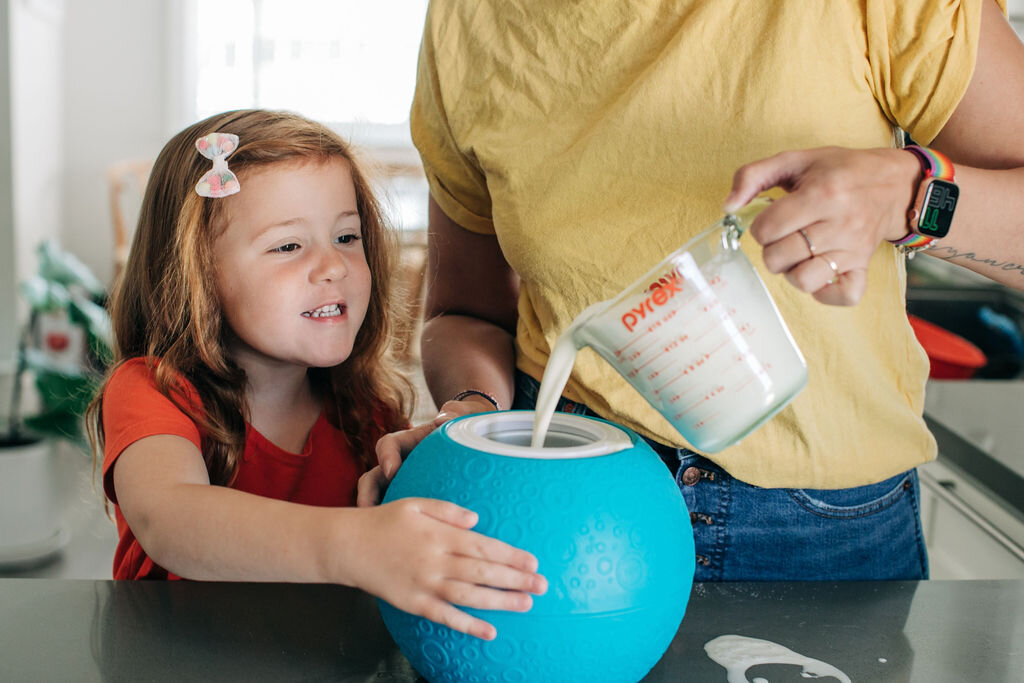
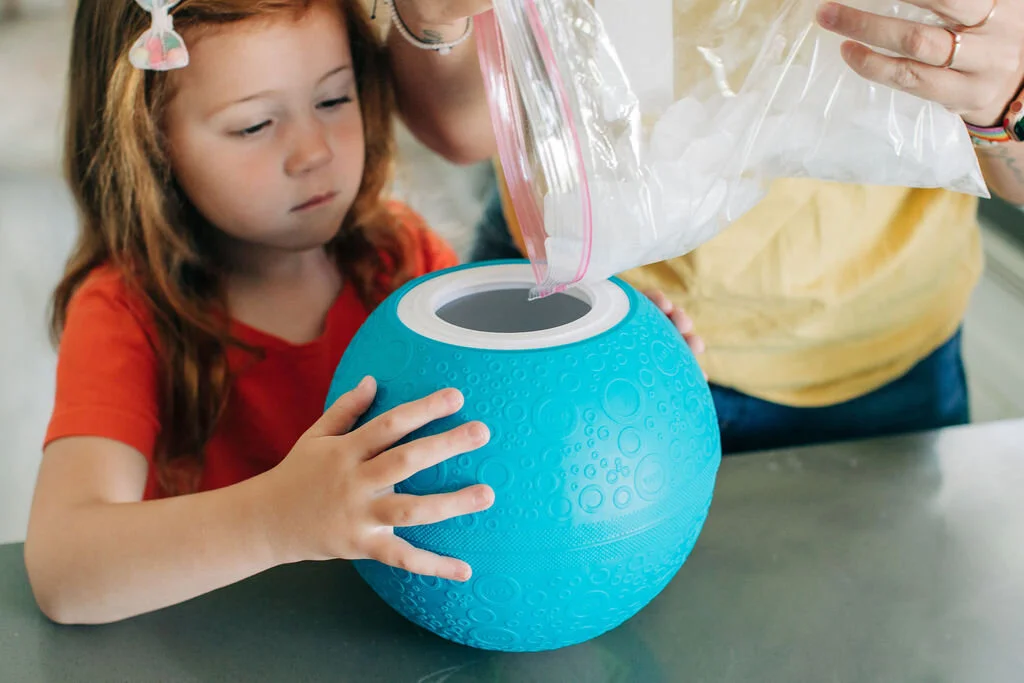
On one side of the ball you add your ice cream mixture. Then on the other side you add in your ice and salt. We’ve done this a few times and we have used ice cream salt and regular salt. Both gave us the same results! So if you can’t find (or don’t have ice cream salt) you can use regular salt.
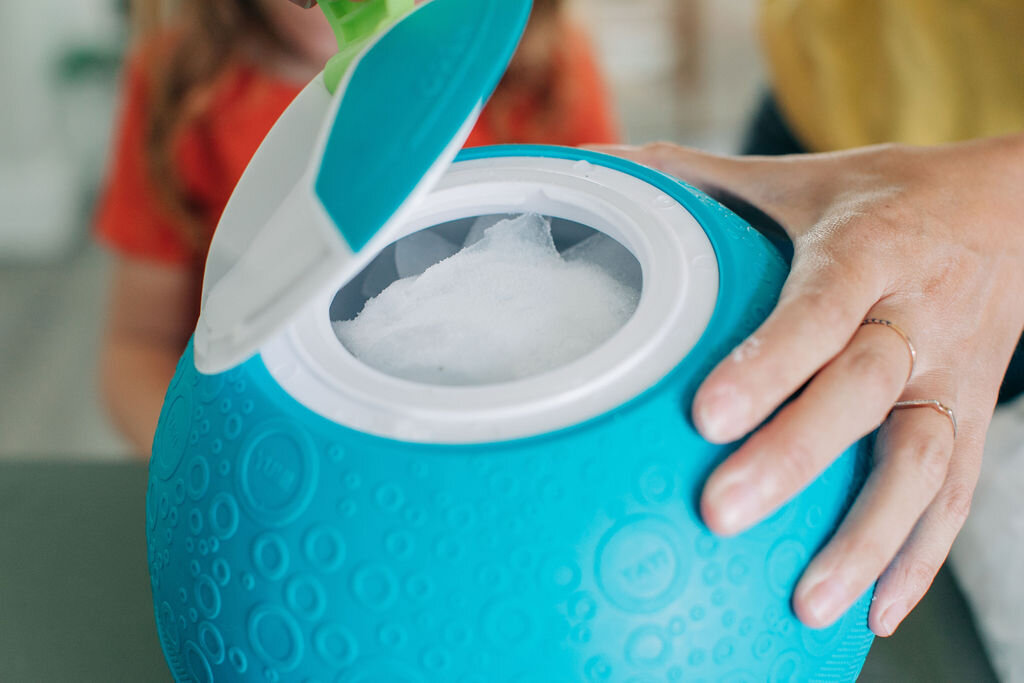
Also, the instructions say to play with the ball for ten minutes then scrape the ice cream build up off the sides inside. Then play with the ball again to finish churning your ice cream. Definitely do not skip this step! Though what we have found is that you should drain any ice that has melted. Add new ice and more salt to the other side before taking it back out to play with it for the last ten minutes.
Lastly, move fast! It helps to set up bowls + toppings before you get started so they are ready to go once the ice cream is done. This ice cream is firm but melts quick so just keep that in mind! You won’t be able to make it and save it! (We’ve tried and it melted in the freezer before it even got the chance to freeze.
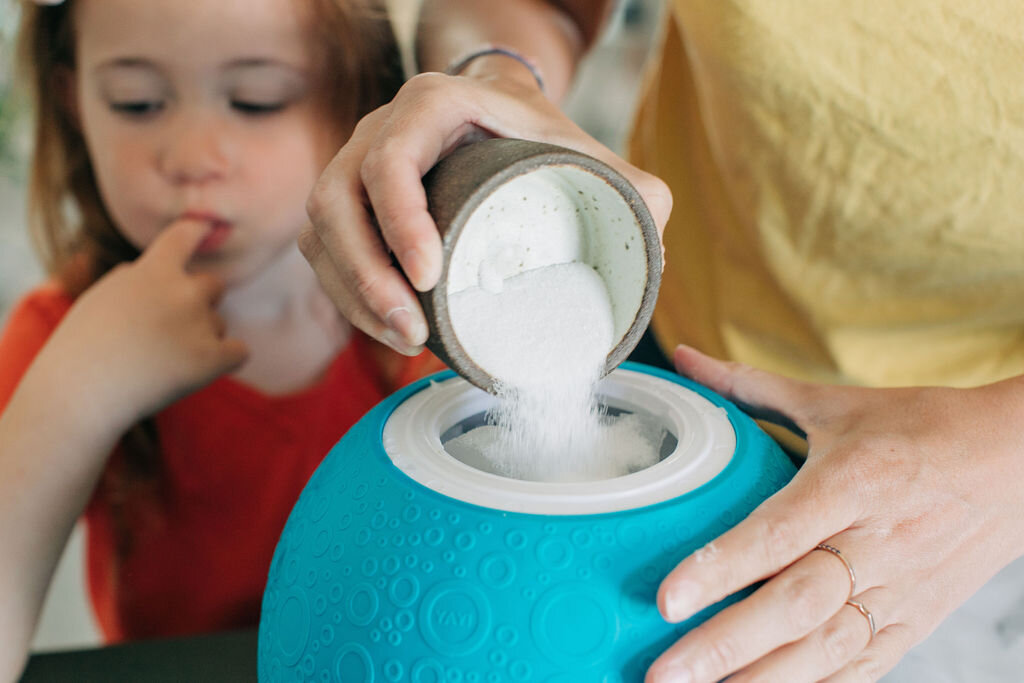
Mila tasting the salt!
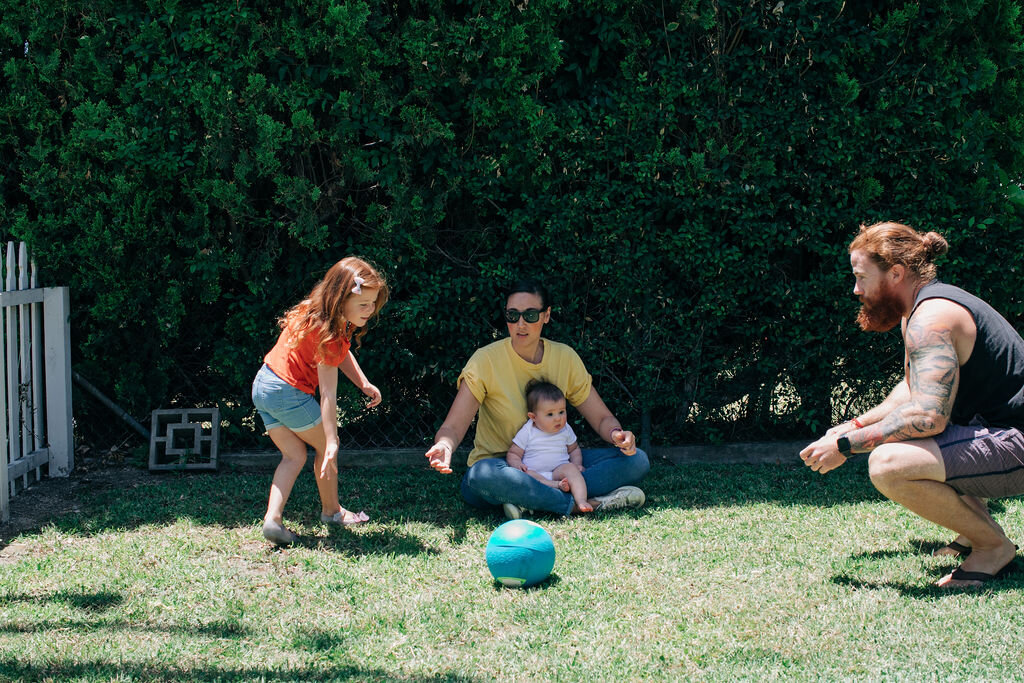
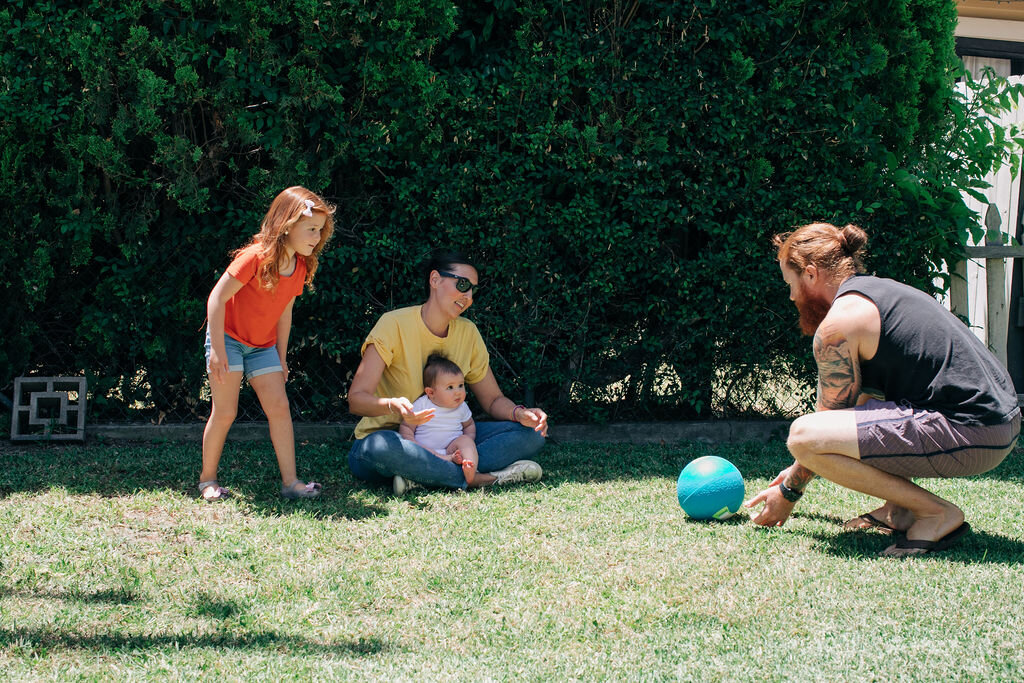
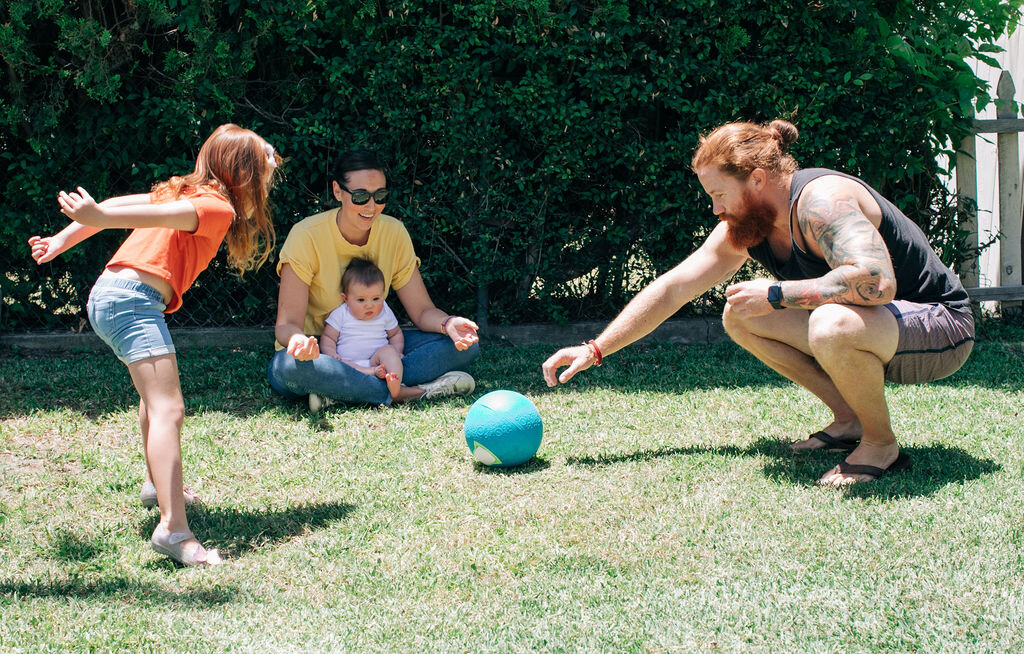
This is such a fun afternoon activity and great to do with the whole family since you need some muscle power to keep tossing the ball! Find the ball below … And let us know below how you plan on spending your Summer!